CBC-PROC-200 Version 1 last review date: May, 2019
1.0 Create a New Site
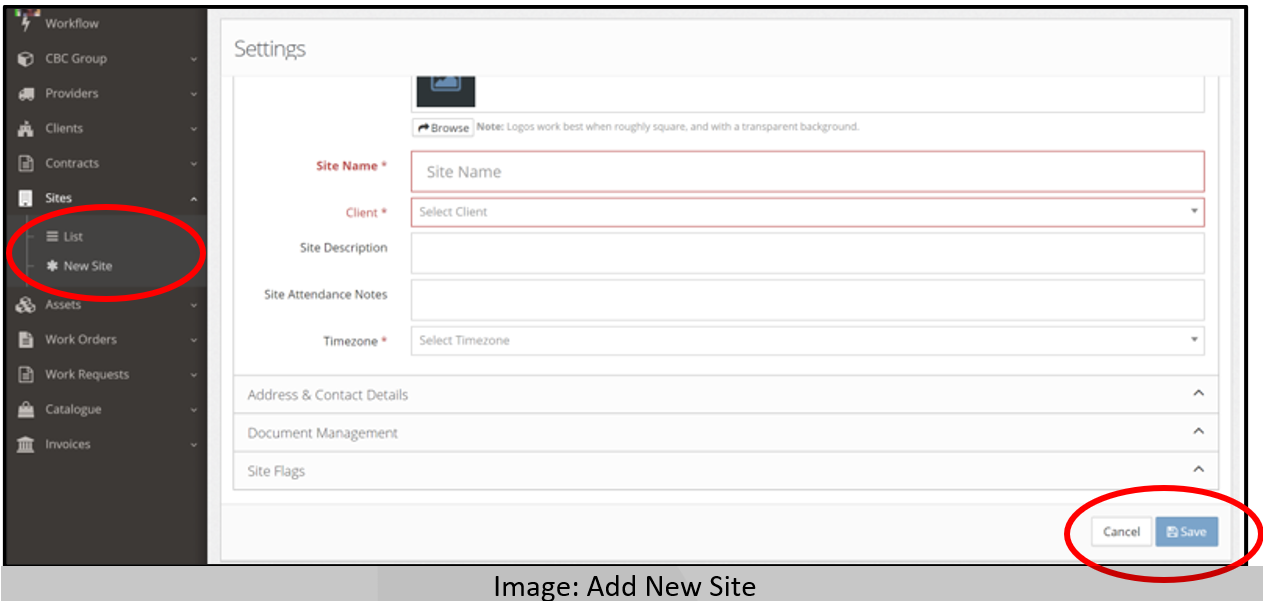
Navigate to the ‘New Site’ view.
Add Site name and use the drop down to locate Client name..
Add address and contact details and save.
When the ‘Save’ button is pressed, a pop-up form will appear to allow you to add the new site to a Contract so the new site is ready to have Work Orders raised.
- Please select a Contract from the drop-down list.
- The available Contracts are based on the selected Client’s Contract assignments.
- Press cancel to assign the new site to a contract later via Contract Settings. NOTE: If a region needs to be added to the site, this must be done via Contract Settings.
2.0 Assign Site to a Contract
⚠️
Sites must be assigned to a Contract prior to being able to raise Work Orders. A Site can only be assigned to Contracts that share a Client A single Site can be assigned to multiple contracts. It will need separate assets for each Contract.
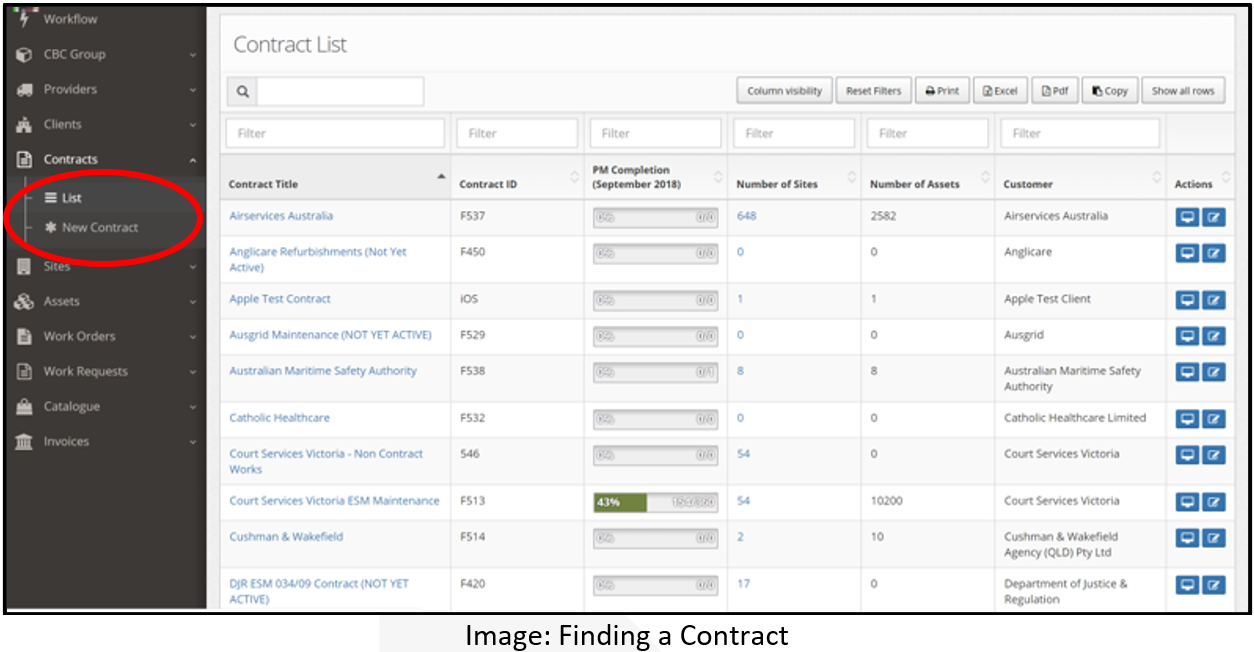
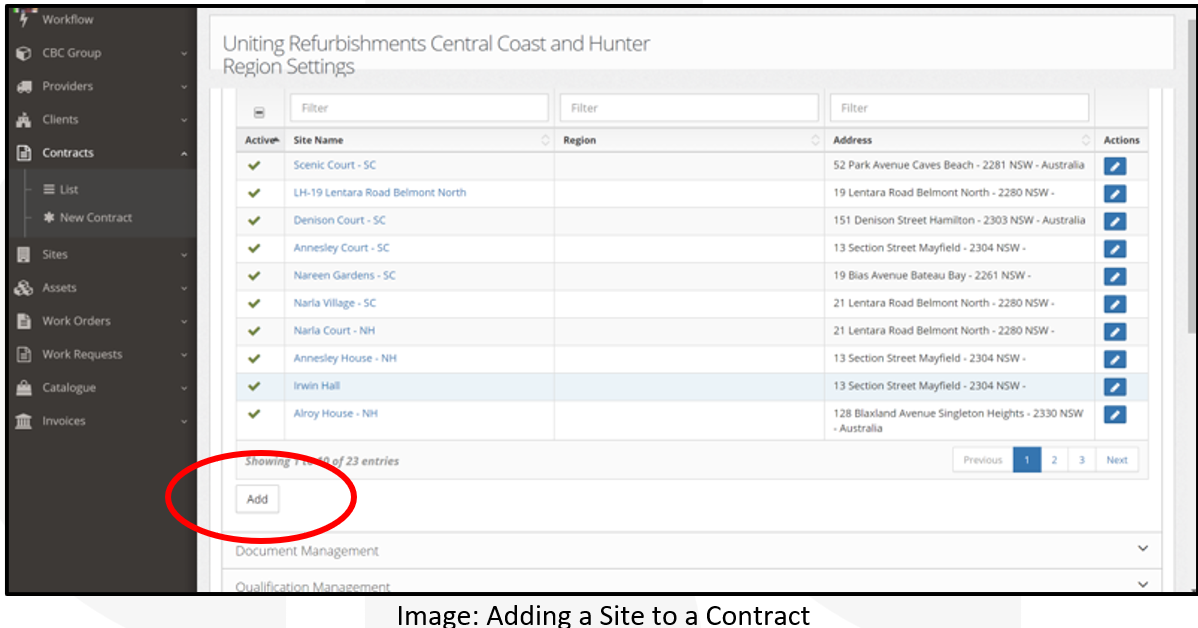
- Find the contract that you need to link the site to and click on contract settings. Navigate to site management and select add.
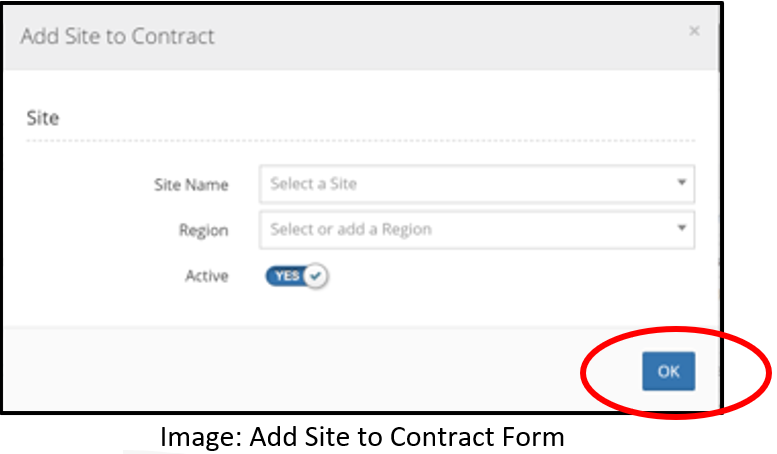
- Find site name in the drop down, select a region, and click ‘OK’
- Click Save at the bottom of the Contract Settings view.
3.0 Add Locations to a Site
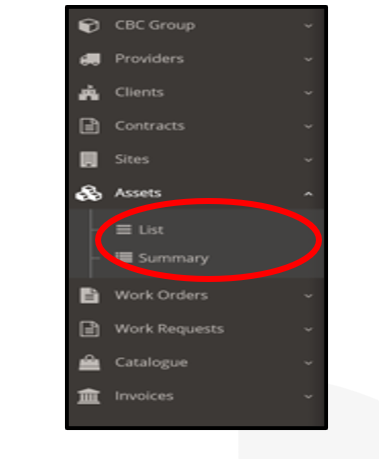
- Navigate to the Asset List view. Navigation Panel > Assets > Asset List
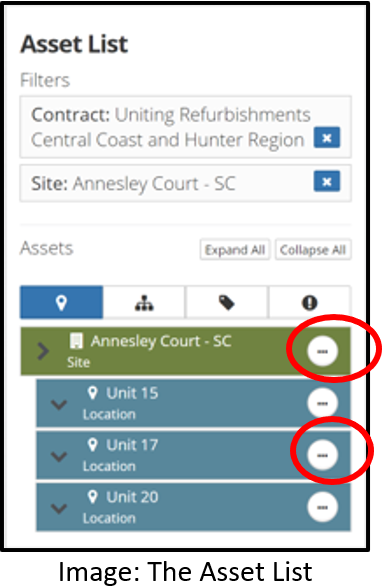
- Find the desired Contract and Site by utilising the drop downs in the ‘Filters’ section.
- Add Location(s) to the Site by pressing the ellipsis button and selecting the ‘Add Location’ option. Locations can be created inside Locations to create a nested structure.
- Name the location and click ‘Save’
4.0 Add Assets to a Site
Click on the ellipsis button of the desired location and select the ‘Add Asset’ option. This will display the Asset Detail view.
Complete the necessary fields.
- Asset Name: The name of the asset, such as ‘Smoke Detector’.
- Asset Type: Select the type of the Asset. The available asset types are based on the selected contract’s settings.
- Contract: Select the contract in which the asset should be assigned to.
Click the ‘Asset Identifiers’ panel, then click ‘Add’ to add an Asset Identifier.
- Type = Primary ID
- Identifier = an asset number.
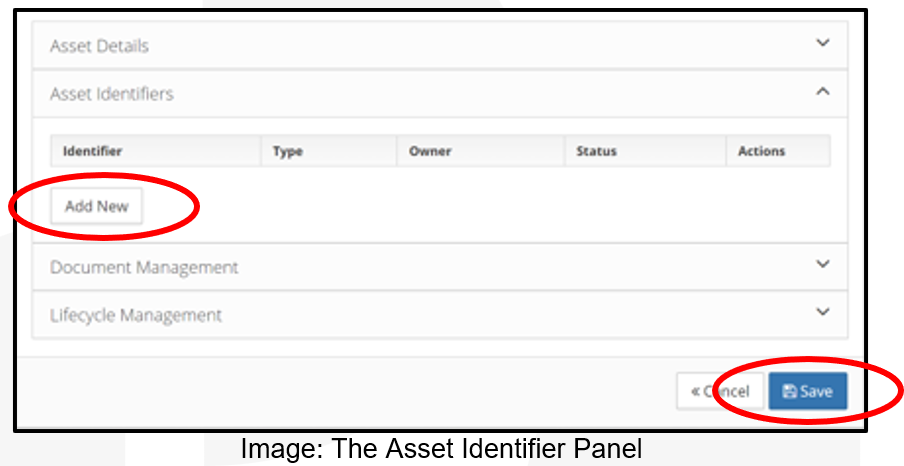
Click the ‘Save’ button.
5.0 Contract Specific Notes
| Contract | Field | Note |
|---|---|---|
| ?? | Location Name | Refurbishments of units and rooms for our aged care clients use the Unit or Room number i.e.: - Unit 69 |
| ?? | Asset Identifier | for aged care clients is U69 or RM69 |
| ?? | Asset Name | Asset name for aged care clients is Refurbishment |
| ?? | Asset Type | Asset type for aged care clients is Refurbishment |